Costume Design and Construction Techniques

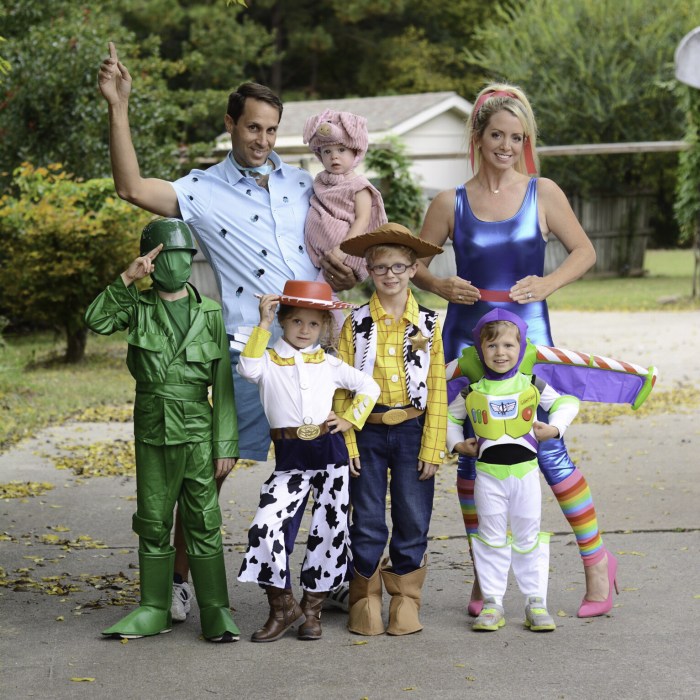
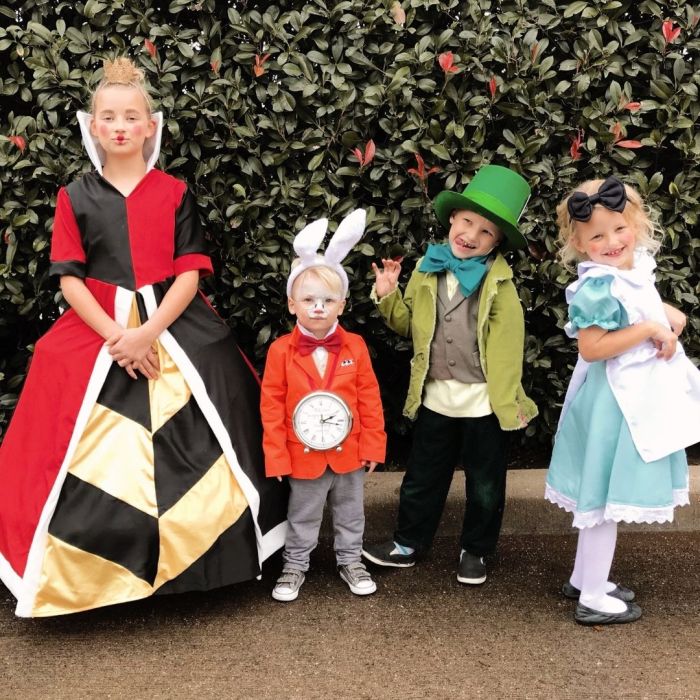
Diy costumes for family – DIY family costumes are a fantastic way to bond and express creativity! This section explores simple yet effective methods for designing and constructing family costumes using readily available materials. We’ll cover adaptable designs, and provide a step-by-step guide for a specific theme.
Three Methods for Creating Simple Family Costumes
Creating effective family costumes doesn’t require extensive sewing skills or expensive materials. Three readily accessible methods are repurposing existing clothing, using fabric scraps and simple embellishments, and employing readily available craft supplies.Repurposing existing clothing involves transforming items already in your closet. For example, old t-shirts can be easily dyed, painted, or embellished to create themed costumes. A plain white t-shirt could become a ghost costume with strategically placed holes and some fabric paint, while old jeans could be transformed into a farmer costume with the addition of straw hats and bandanas.
This method minimizes cost and time investment.Using fabric scraps and simple embellishments allows for greater creativity. By combining different textures and colors of fabric scraps, you can create unique and personalized costumes. Felt, ribbon, buttons, and other craft supplies can be used to add details and personality to basic clothing items. A simple tunic made from a large rectangle of fabric can be transformed into a medieval peasant costume with the addition of some embroidery and a belt.Employing readily available craft supplies offers another avenue for costume creation.
Cardboard boxes can be transformed into robots, animals, or even houses, depending on your family’s theme. Construction paper, paint, and glue can be used to add details and personalize the costumes. This method is particularly good for younger children who might enjoy participating in the construction process.
Adapting a Single Costume Design to Different Age Groups and Body Types
Adapting a single costume design to fit different family members requires careful consideration of size and shape. The key is to maintain the core design elements while making adjustments for individual body types. For instance, a superhero costume can be easily adapted. The basic design could be a colored bodysuit with a cape. For adults, this could be a full-length bodysuit, while for children, it might be a tunic and leggings.
The cape can be adjusted in size and length to suit each person, and details like masks or logos can be scaled accordingly. Using elastic waistbands and adjustable straps on capes ensures a comfortable fit for various body types. Different fabric weights can also accommodate varying needs—lighter fabrics for children and sturdier fabrics for adults.
Step-by-Step Guide: Creating Superhero Costumes
This guide details creating simple superhero costumes using readily available materials.
Step 1: Gathering Materials
Materials
Colored felt (various colors), elastic, scissors, hot glue gun, safety pins, old t-shirts or sweatshirts (depending on desired level of coverage), fabric markers.
Tools
Scissors, hot glue gun, measuring tape.
Step 2: Designing and Cutting the Felt
Imagine a simple superhero emblem design (a star, a lightning bolt, etc.). Trace the design onto the felt and cut it out. Create multiple copies for each family member, adjusting the size accordingly. A larger emblem might be appropriate for an adult, while a smaller one works for a child. The image would show a simple star design cut from red felt, for example.
Crafting DIY costumes for family can be a fun and affordable Halloween tradition. For the adventurous, consider a truly unique look; this year, why not try a diy creepy clown costume for your older kids or even a family member who enjoys a good scare? Remember to tailor the creepiness level to your family’s comfort, ensuring everyone has a frightfully good time.
Ultimately, the goal is to create memorable and personalized costumes that everyone will love.
Step 3: Assembling the Costumes
If using old t-shirts or sweatshirts, cut them to a basic shape. The image would show a plain red t-shirt laid flat, possibly with a few areas marked for trimming. For the cape, cut a large semi-circle from a different colored felt. The image would show the semi-circle cut and laid flat. Hot glue the emblem onto the front of the shirt.
The image would show the emblem glued neatly onto the chest area of the t-shirt.
Step 4: Adding Finishing Touches
Attach the cape to the neck of the shirt using safety pins or by carefully sewing. The image would show the cape attached to the back of the shirt with safety pins. Use fabric markers to add additional details, such as stripes or other embellishments. The image would show some simple lines added to the cape and t-shirt with a fabric marker.
Cut and sew elastic to the waist of the shirt for a better fit. The image would show the elastic neatly sewn into the bottom hem of the shirt.
Adding Personal Touches and Creativity: Diy Costumes For Family

DIY costumes are all about expressing your family’s unique personalities and having fun with the creative process. Taking the time to personalize your costumes transforms them from simple outfits into cherished memories. Adding individual touches not only makes the costumes more visually appealing but also fosters a stronger sense of ownership and pride among family members.Personalizing family costumes allows for the expression of individual tastes and preferences, turning a shared activity into a celebration of unique identities.
This personalized approach is far more engaging than simply following a generic pattern, and it encourages collaboration and creativity within the family unit. The resulting costumes will reflect the family’s bond and shared experience.
Three Ways to Personalize Family Costumes, Diy costumes for family
There are countless ways to personalize family costumes to reflect each member’s personality. Consider incorporating elements that represent hobbies, favorite colors, or even inside jokes. This approach ensures that each costume feels authentic and special.
- Incorporate Hobbies: If a family member is passionate about soccer, incorporate soccer elements into their costume. This could be as simple as adding a soccer ball patch or as elaborate as creating a full-blown soccer referee costume. For a bookworm, consider incorporating elements of their favorite book, perhaps a character’s iconic hat or a book-shaped prop.
- Use Favorite Colors: Each family member could incorporate their favorite color into their costume. This could be as simple as adding accents of the color to their clothes or as elaborate as designing a costume entirely in that color. This is a simple yet effective way to personalize the costumes and make them feel more unique.
- Include Inside Jokes: A family inside joke can add a humorous and deeply personal touch. For instance, if your family has a running gag about a specific animal, you could incorporate that animal into the costumes in a fun and unexpected way. This element creates a shared understanding and adds a layer of humor and intimacy.
Fabric Paint Versus Other Decorating Techniques
Fabric paint, felt, and glitter each offer unique advantages and disadvantages when decorating DIY costumes. The choice depends on the desired effect and the skill level of the crafter.Fabric paint provides a smooth, painterly effect and allows for intricate designs. However, it can be messy and requires some practice to achieve a clean finish. Felt, on the other hand, is easy to work with and provides a textured, dimensional effect.
It’s perfect for creating patches, appliqués, or three-dimensional elements. Glitter offers a sparkly, glamorous look but can be messy and difficult to apply evenly. It’s best used sparingly and with a sealant to prevent shedding.
Five Unique Costume Accessories
Accessories can elevate a DIY costume from simple to spectacular. A well-chosen accessory can add personality, humor, and a unique touch. Consider creating accessories that enhance the overall theme or add a personal touch to each costume.
- Personalized Masks: Create simple masks using felt or cardstock. Add personalized details like family member’s initials, favorite characters, or funny expressions. Secure them with elastic or ribbon.
- Character-Specific Hats: Felt, cardboard, or even repurposed materials can be used to craft hats representing the chosen character. A witch’s pointed hat, a cowboy’s ten-gallon hat, or a whimsical top hat can instantly transform a costume.
- Miniature Props: Create miniature props relevant to the costumes. For example, a tiny magic wand for a wizard, a miniature watering can for a gardener, or a toy sword for a knight. These details add a playful touch.
- Glow-in-the-Dark Accents: Use glow-in-the-dark paint or fabric to add a unique, eye-catching element. This is especially effective for costumes worn at night or in low-light conditions. This can be used to highlight specific details or add a magical glow.
- Custom-Made Badges or Pins: Create custom badges or pins using felt, buttons, and glue. These can be personalized with names, funny sayings, or small images related to the costume theme. These can be easily attached to clothing or bags.
Essential Questionnaire
How far in advance should I start making costumes?
Begin at least 4-6 weeks before your event to allow ample time for sourcing materials, designing, and construction. This avoids last-minute stress.
What if I don’t have sewing skills?
No problem! Many costume ideas require minimal sewing or none at all. Focus on no-sew methods like gluing, tying, or using fabric fasteners.
How can I ensure the costumes are safe for young children?
Choose non-toxic paints and materials. Avoid small, detachable parts that could pose a choking hazard. Opt for comfortable fabrics and ensure costumes don’t restrict movement.
What if my kids change their minds about their costumes last minute?
Have a backup plan! Choose flexible designs that can be easily adapted or have some simple, go-to costume elements ready.
How do I store the costumes after the event?
Clean and thoroughly dry costumes before storing them in airtight bags or containers to protect them from dust and damage.


